Hi, welcome to my first blogged DIY. I've really been getting into layering with the Peter Pan collar recently but before, my only way of doing this was wearing a full length Peter Pan shirt underneath my clothes, which wasn't very fun in warm weather. So, finding that I had a bunch of free time and extra fabrics I decided to make my own removable collar.
WARNING: The ability to sew (by machine or hand) is needed to complete this diy.
These are your supplies
- scissors
- needle and thread (or a machine)
- Peter Pan collar template ( You can find a template for the collar anywhere online. Mine is a bit rough because I drew it myself)
- Elastic string of any sort (I used the string from a free sleeping mask I got from an airplane.)
- a button (any size)
- Fabric
- hem tape (optional)

Fold the template in half and cut out one half.
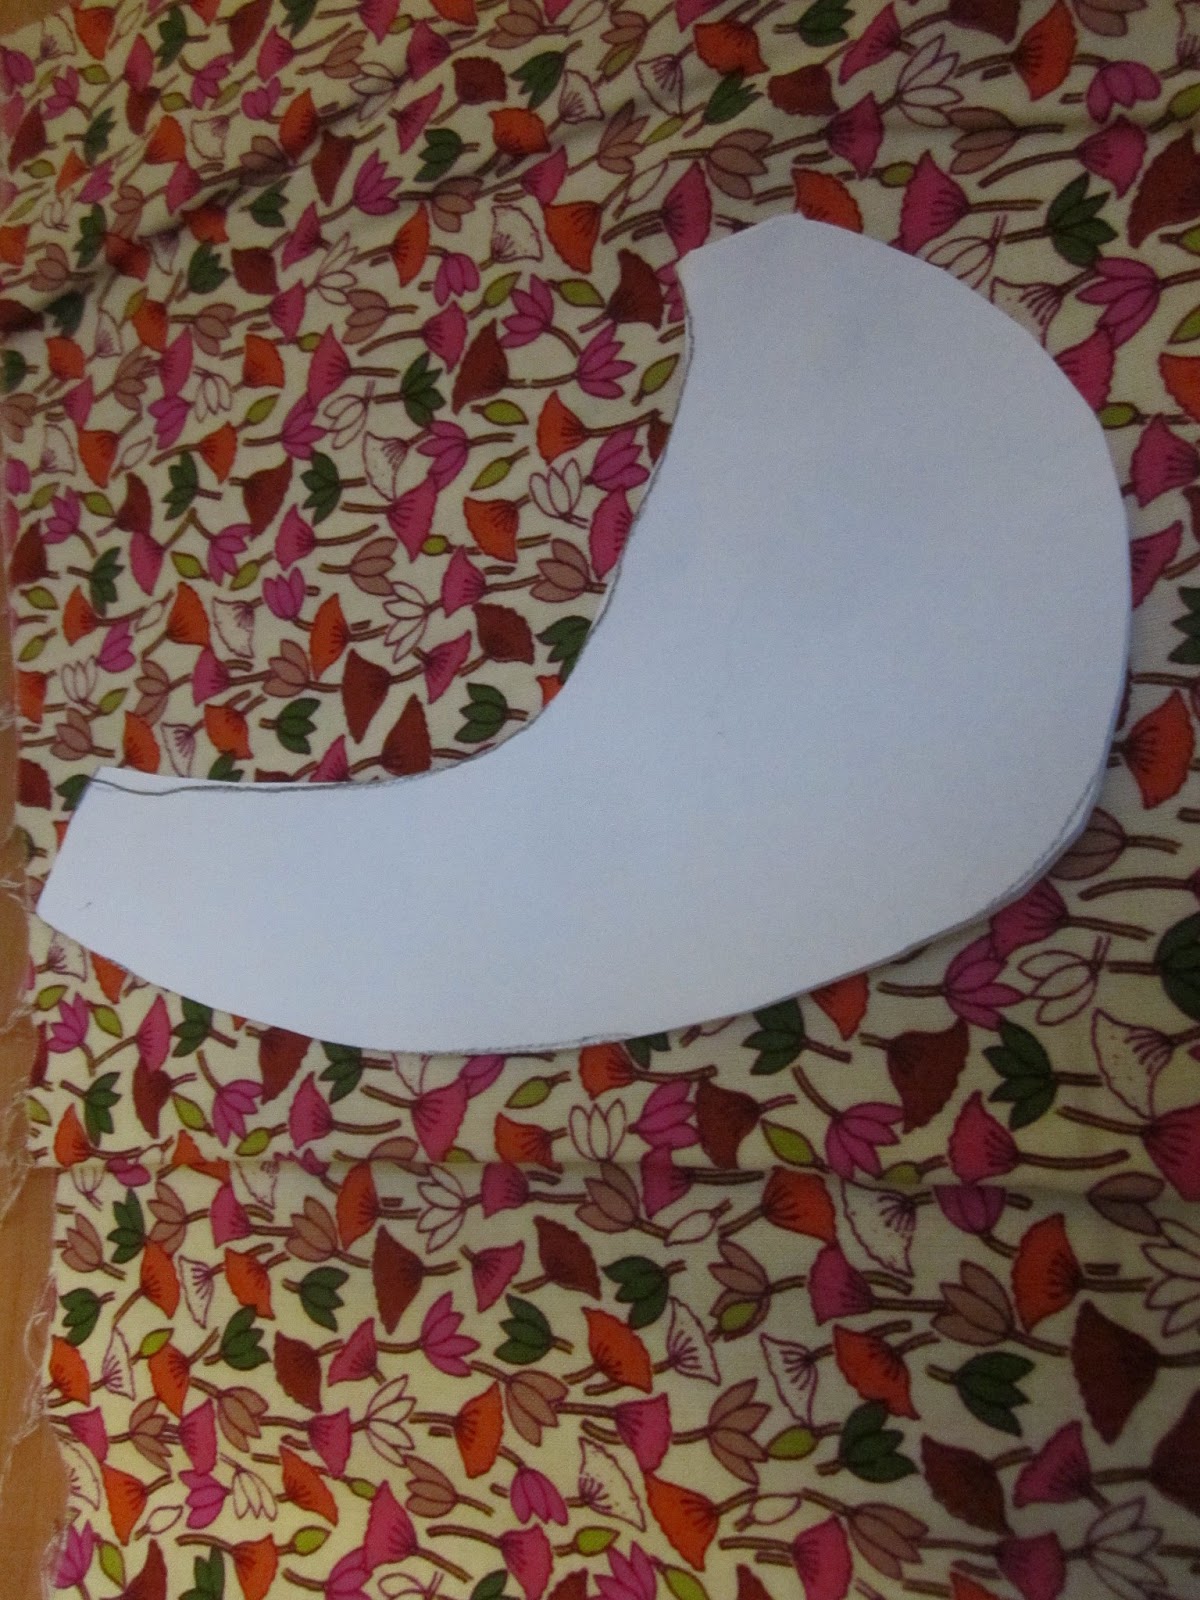
Pin the template on top of fabric that has been folded over.

Cut out the fabric, leaving about 1/2 an inch for hemming.

Hem the two individual cut out pieces. Hem tape is always useful
because hemming is an extremely boring process.

Sew a button connecting the two pieces.

This part is kind of confusing.
Place the almost completed collar where you would wear it and
measure the approximate distance between the two ends.
Add about two or three inches for safety, then cut out that length of elastic.

Sew elastic onto each end of the collar (It was a bit long for me, ]
so I had to tie a small knot to shorten the elastic.)

This is the finished collar

(Notice my warm and inviting expression in these pictures.)


Ta-da! Hope you liked it!
See you guys later.
Love, K.
OMG I have wanted one of these for ages but all the ones in the shops were blegh. Deffo going to make my own one now!
ReplyDeleteAoife xx
http://passtheteacup.blogspot.ie/?m=1
Wow! this is adorable, I must make one!!
ReplyDeletethanks for the follow!
xxx